The ASRock X399 Taichi Motherboard Review: Cost-Effective Threadripper
by E. Fylladitakis on October 26, 2018 8:00 AM EST- Posted in
- Motherboards
- AMD
- ASRock
- ThreadRipper
- X399
BIOS
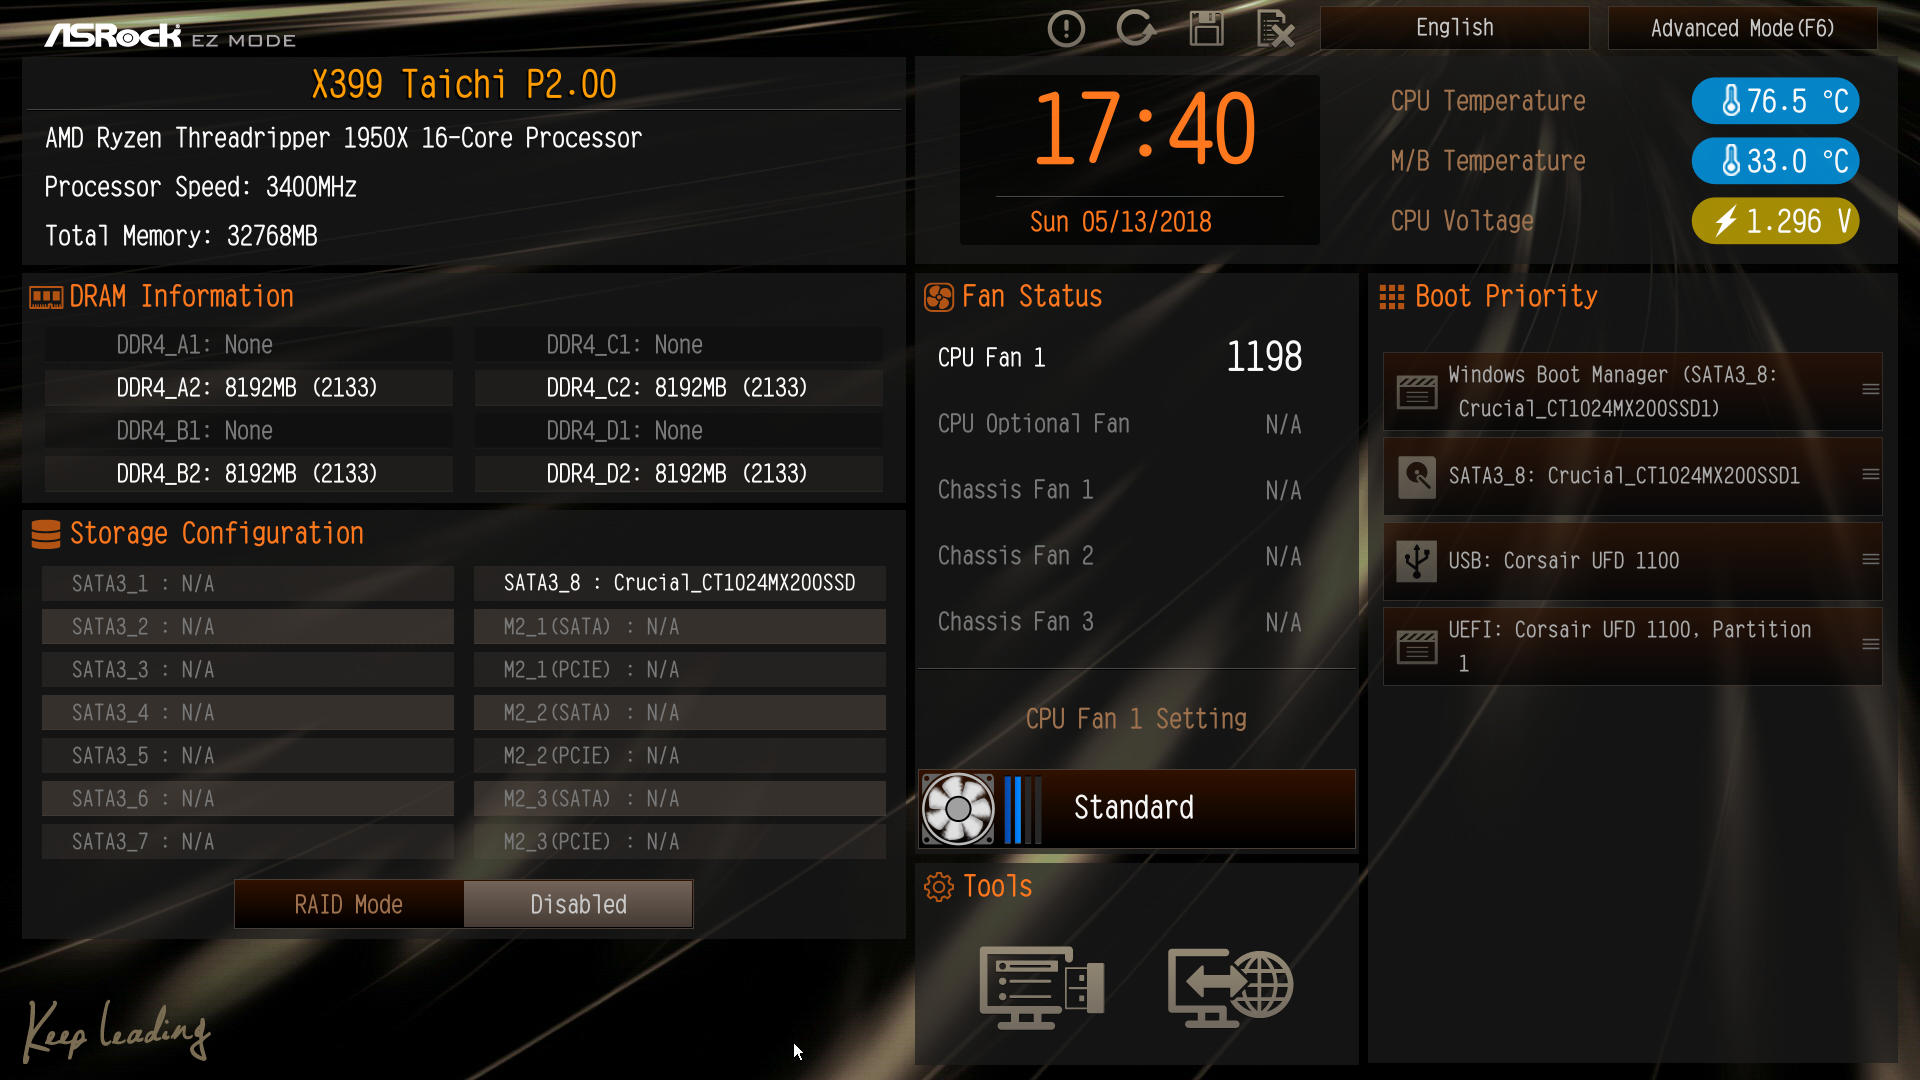
As with almost every modern motherboard, the ASRock X399 Taichi features a graphical BIOS with mouse input support. It defaults to the "EZ Mode", a single-page interface that only shows basic configuration settings and informative dials. All that a user can do from this page is to change the CPU's fan speed setting, configure RAID arrays, switch the boot device priority, and use BIOS flashing tools.
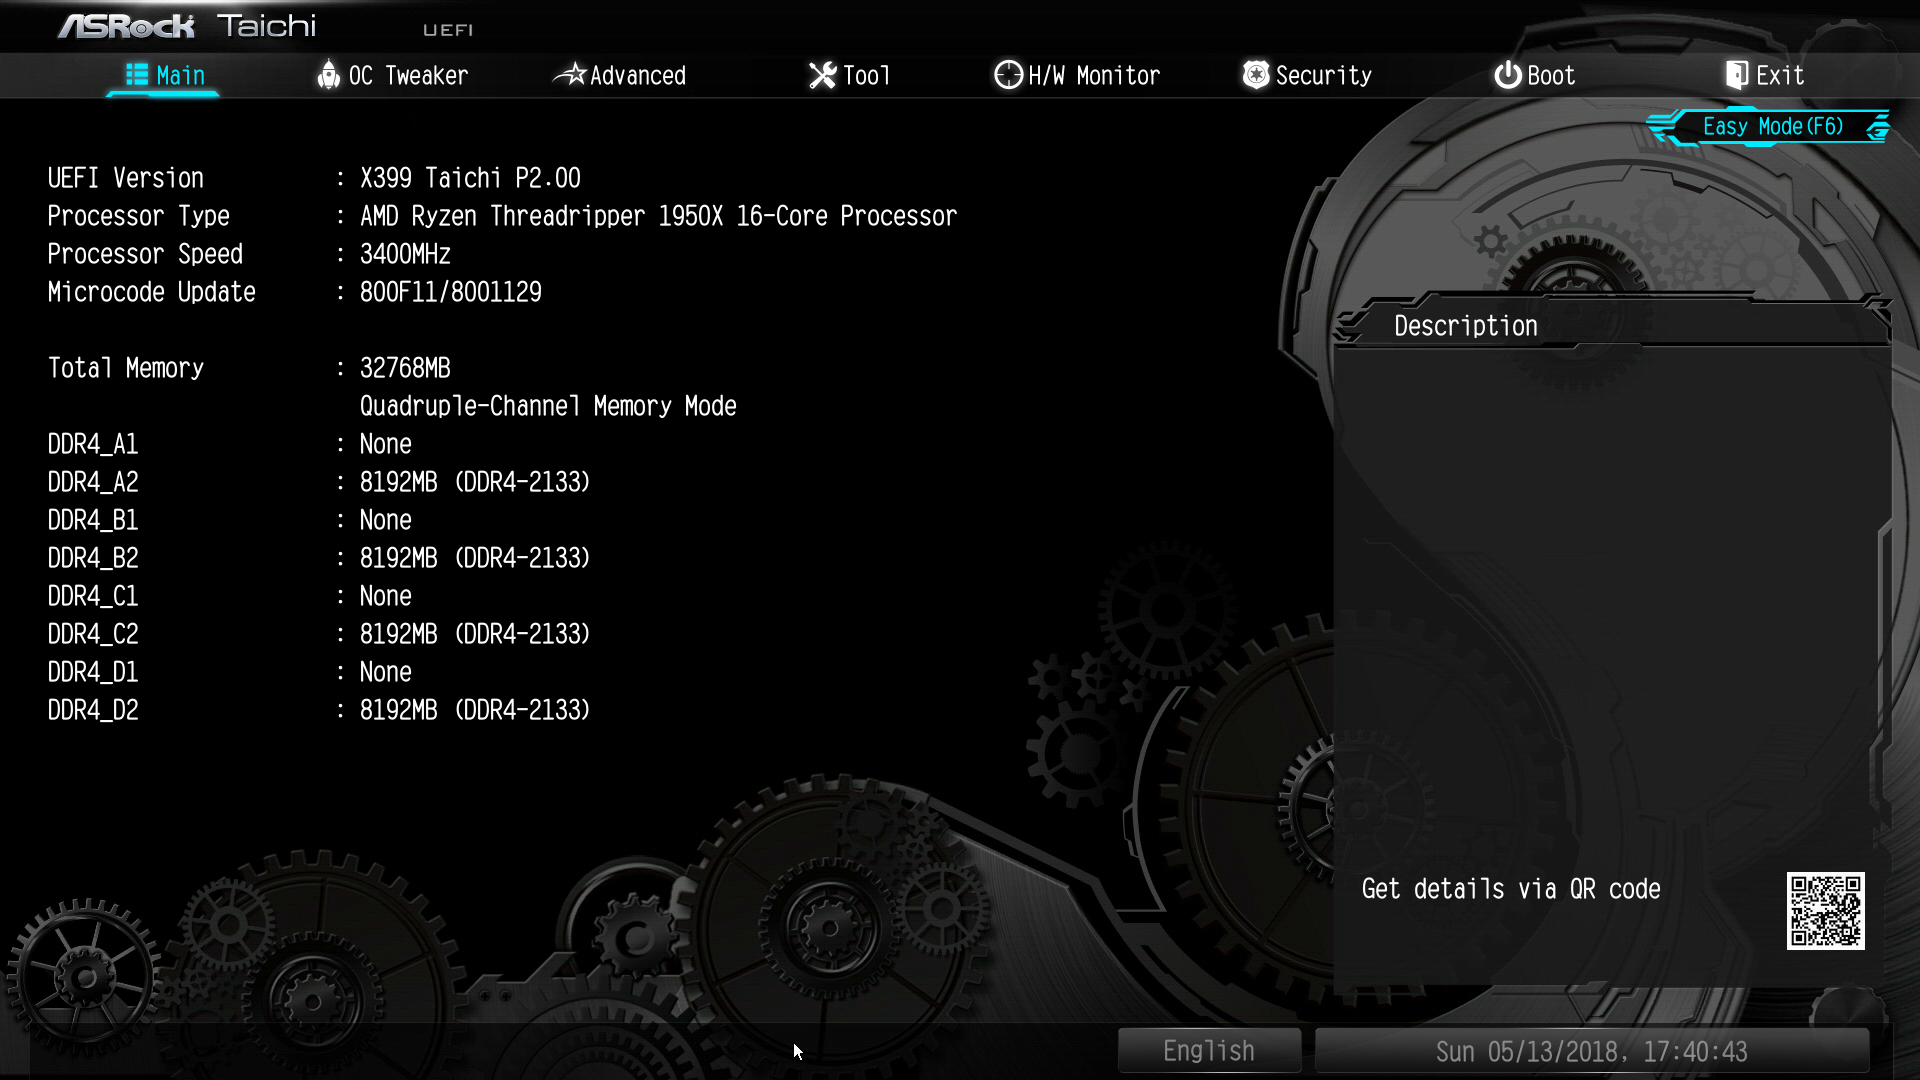
Pressing the F6 key brings up the full version of the BIOS, with a graphical theme that matches the gear works concept of the Taichi series. The settings are divided under eight main tabs but most of the important options can be found under two of them.
The "Main" tab is deceptively named and purely informative, without a single adjustable setting. Most of the BIOS settings can be found under the "OC Tweaker" and the "Advanced" tabs. The “OC Tweaker” tab includes the CPU, RAM, and Voltage settings. By default, the BIOS is set to the Auto CPU overclock, frequency, and voltage mode, temporarily boosting the Ryzen Threadripper 1950X up to about 4.0 GHz. Switching any of these settings to manual mode exposes new adjustable options. This approach can make the main page a little messy when everything is set to manual mode but the advanced settings for each device are organized into separate submenus, making it relatively easy to find and tweak specific options.
The “Advanced” tab includes all of the configuration options for the motherboard’s features and onboard devices. What is of interest here is the AMD CBS submenu that hides the Zen CPU settings, which includes the thermal throttling, fan control, and Core/Thread settings. A lot of advanced DRAM-related options can be found under the "UMC Common Options" submenu as well, including power options. The rest of the submenus hide advanced options that should be of no interest to most users.


The "Tool" tab holds the RGB configuration tool, the Instant/Internet BIOS flash tools and the RAID installer tool. The RGB LED configuration is very simple but at least each of the three channels (one for the motherboard's chipset area, one for each LED strip header) can be programmed individually.
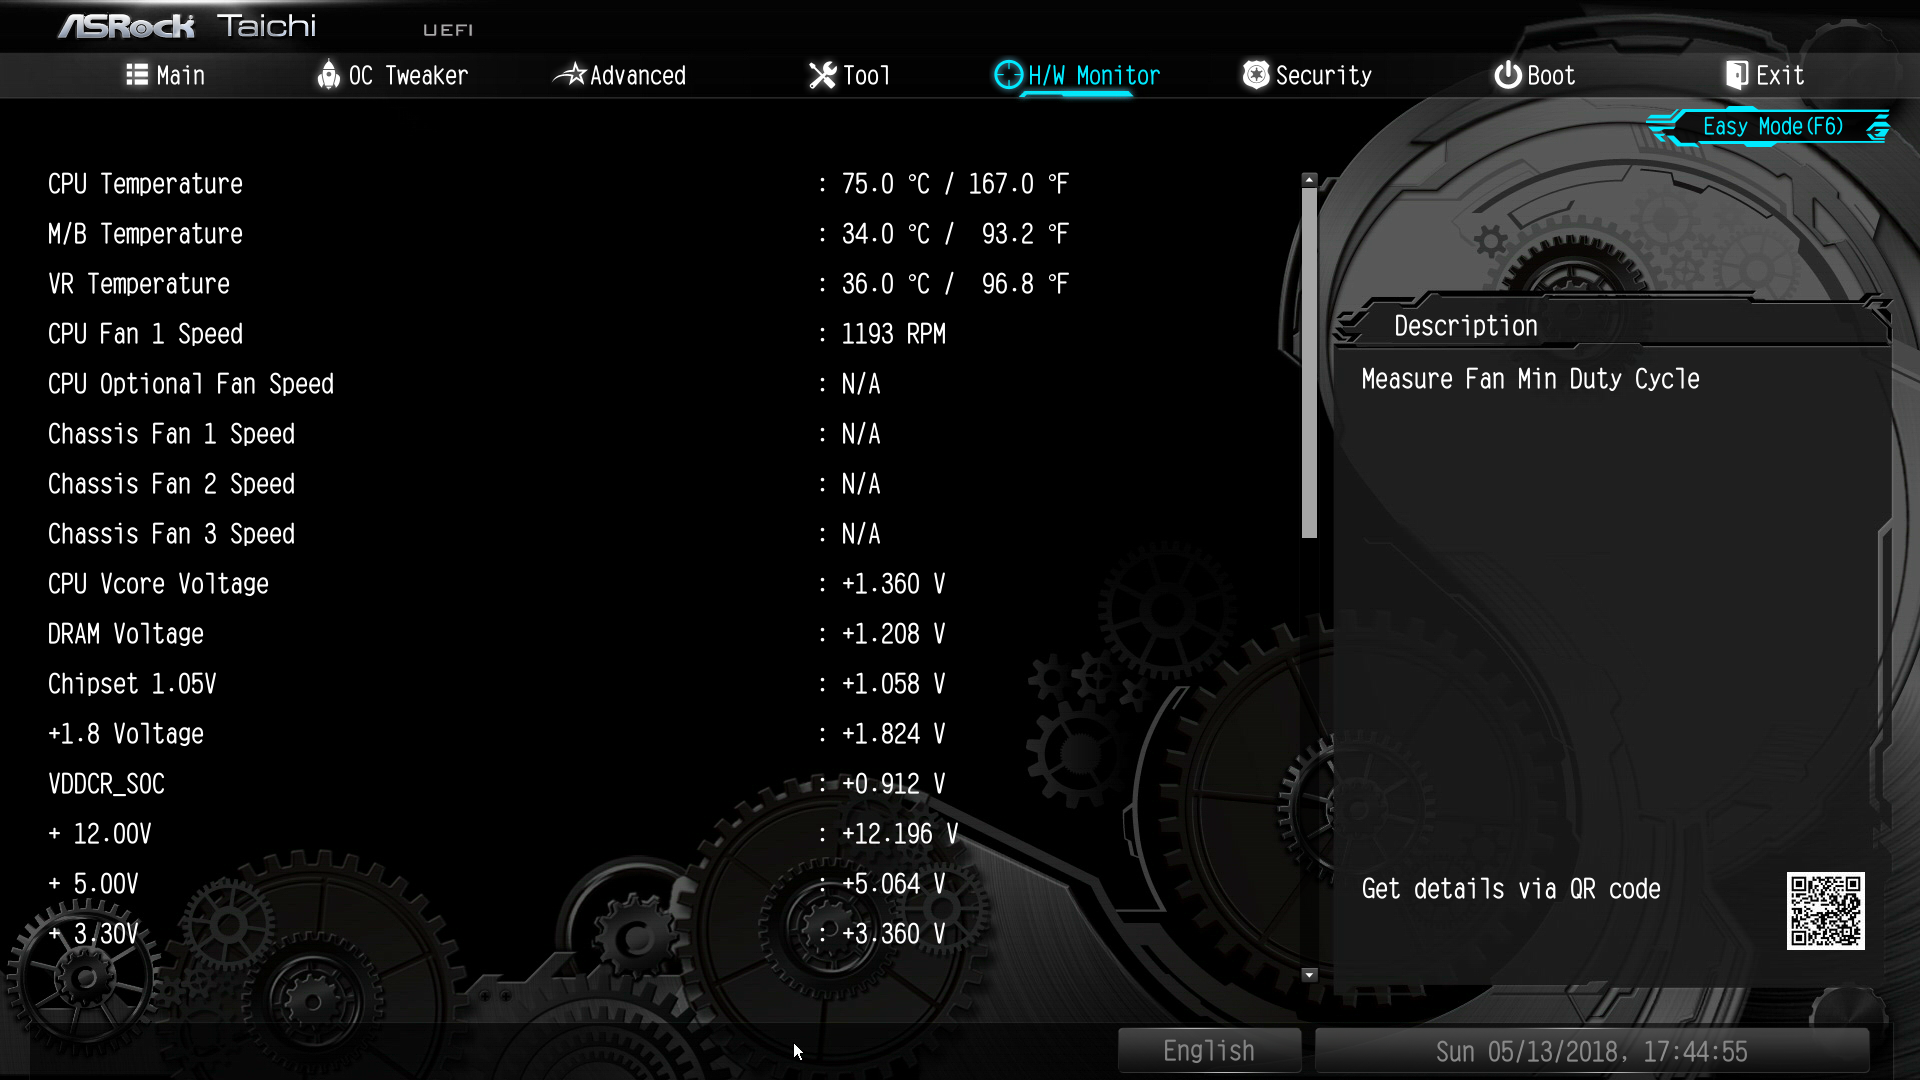
Another deceptively named tab is the "H/W Monitor" tab. Most users would be misguided to thing that it is a purely informative tab, listing the voltage and temperature sensor readings. Entering the tab brings up a long list of sensor readings but with a lot of fan control options hidden below them. Scrolling down the page, we find thorough control options per motherboard header. The user can also switch the two headers that support liquid pumps between PWM and DC control, maximizing compatibility with some liquid cooling pumps and certain fans. The user can also tie each fan header to any given temperature sensor of the motherboard.
The rest of the submenus are simple and without any hidden surprises. The "Security" tab contains the password and Secure Boot settings, and the "Boot" tab all boot-related options, except from the temporary boot override options that can be found under the "Exit" tab.


29 Comments
View All Comments
The_Assimilator - Friday, October 26, 2018 - link
At least it isn't covered with tacky, useless, cost-increasing RGB bling.HideOut - Friday, October 26, 2018 - link
FFS I agree. and the ones t hat have RGB need to have an option to at least disable it. Sometimes you buy the product because of other features (or because some sale makes it cheaper than the non RGB version)twtech - Friday, October 26, 2018 - link
Yeah, I have to say I miss the days when a motherboard attempting to appeal to aesthetics merely had a black PCB instead of green, and perhaps a still relatively hard to see logo painted on as well.Now they end up looking like cheap toys for children 10 and under. Plastic non-functional action-toy type pieces sticking out, flashing lights, etc.
Lord of the Bored - Sunday, October 28, 2018 - link
I remember the period when RED motherboards were the new hotness, and I thought they were just extremely gaudy.If I only knew what the future held...
PEJUman - Sunday, October 28, 2018 - link
the Taichi here means Ultimate/Supreme, probably not the best translation but the closest I can think off. The martial arts is actually ‘Taichi chuan’, often shortened TaiChi. I can’t explain the gears, but understand this board meant to be the X399 flagship line from the Taichi name.PeachNCream - Monday, October 29, 2018 - link
The branding failure doesn't take away from the fact that ASRock is offering a competitive product at a reasonable price. If the company's marketing department just needs to lay off the mind-altering, illegal substances.prateekprakash - Friday, October 26, 2018 - link
Could you please confirm if the 3 m.2 slots are derived from the cpu or chipset lanes?Atari2600 - Friday, October 26, 2018 - link
IIRC at least two of them are direct to CPU.kobblestown - Friday, October 26, 2018 - link
Yes, all three of them are connected to the CPU. That's what you do when you have 64 PCIe lanes to play with. One of the dies provides X16 + x8 + 2*x4 for 2 M.2 slots and the other provides x16 + x8 + x4(M.2) + x4(to the X399 chip). Plus this board should support PCIe bifurcation so you can have a relatively cheap (just ~$50 because it doesn't require PCIe switch chip) card that allows you to plug 4 NVMe cards into one of the x16 slots so you get 7 NVMes to the CPU!The_Assimilator - Friday, October 26, 2018 - link
Is it just me, or are the yellow M.2 attachment points on the bottommost slot (the one closest to the SATA ports) on the *back* of the board as opposed to the front? Have a look at the board pictures on the "Visual Inspection" page to see what I mean.I'm glad that motherboard manufacturers are finally starting to offer a decent number of USB 3 ports on the back panel, but I'd still like to see at least a couple extra 2.0 ports for slower peripherals (mice and keyboards).
I take issue with this claim: "The concept is technically sound from an engineering point of view but it also could create compatibility problems because several PSUs have both CPU 12V connectors on a single cable, meaning that an extension would be necessary to reach the second connector on the motherboard." No decent PSU released in recent years with multiple EPS12V connectors has had them on the same cable, for the simple reason that the amount of current drawn if both were fully loaded would require wire that's thicker than the 16 or 18 gauge normally used, in order to not be a fire hazard.